On this page
The fastest path to a first file#
You can go from a fresh install to a real generated dataset in under 3 minutes, with no account, no key, and no network required. This page is that walkthrough, using the app's own real fastest path: describing what you want in plain language and letting Scenario Mode draft the columns for you. (Importing an existing CSV, Parquet, SQL schema, or JSON Schema to skip typing altogether is planned but not built yet — until then, Scenario Mode's offline template tier is the quickest real on-ramp, and is what this page uses. See Building without Scenario Mode for the fully manual path.)
1. Launch#
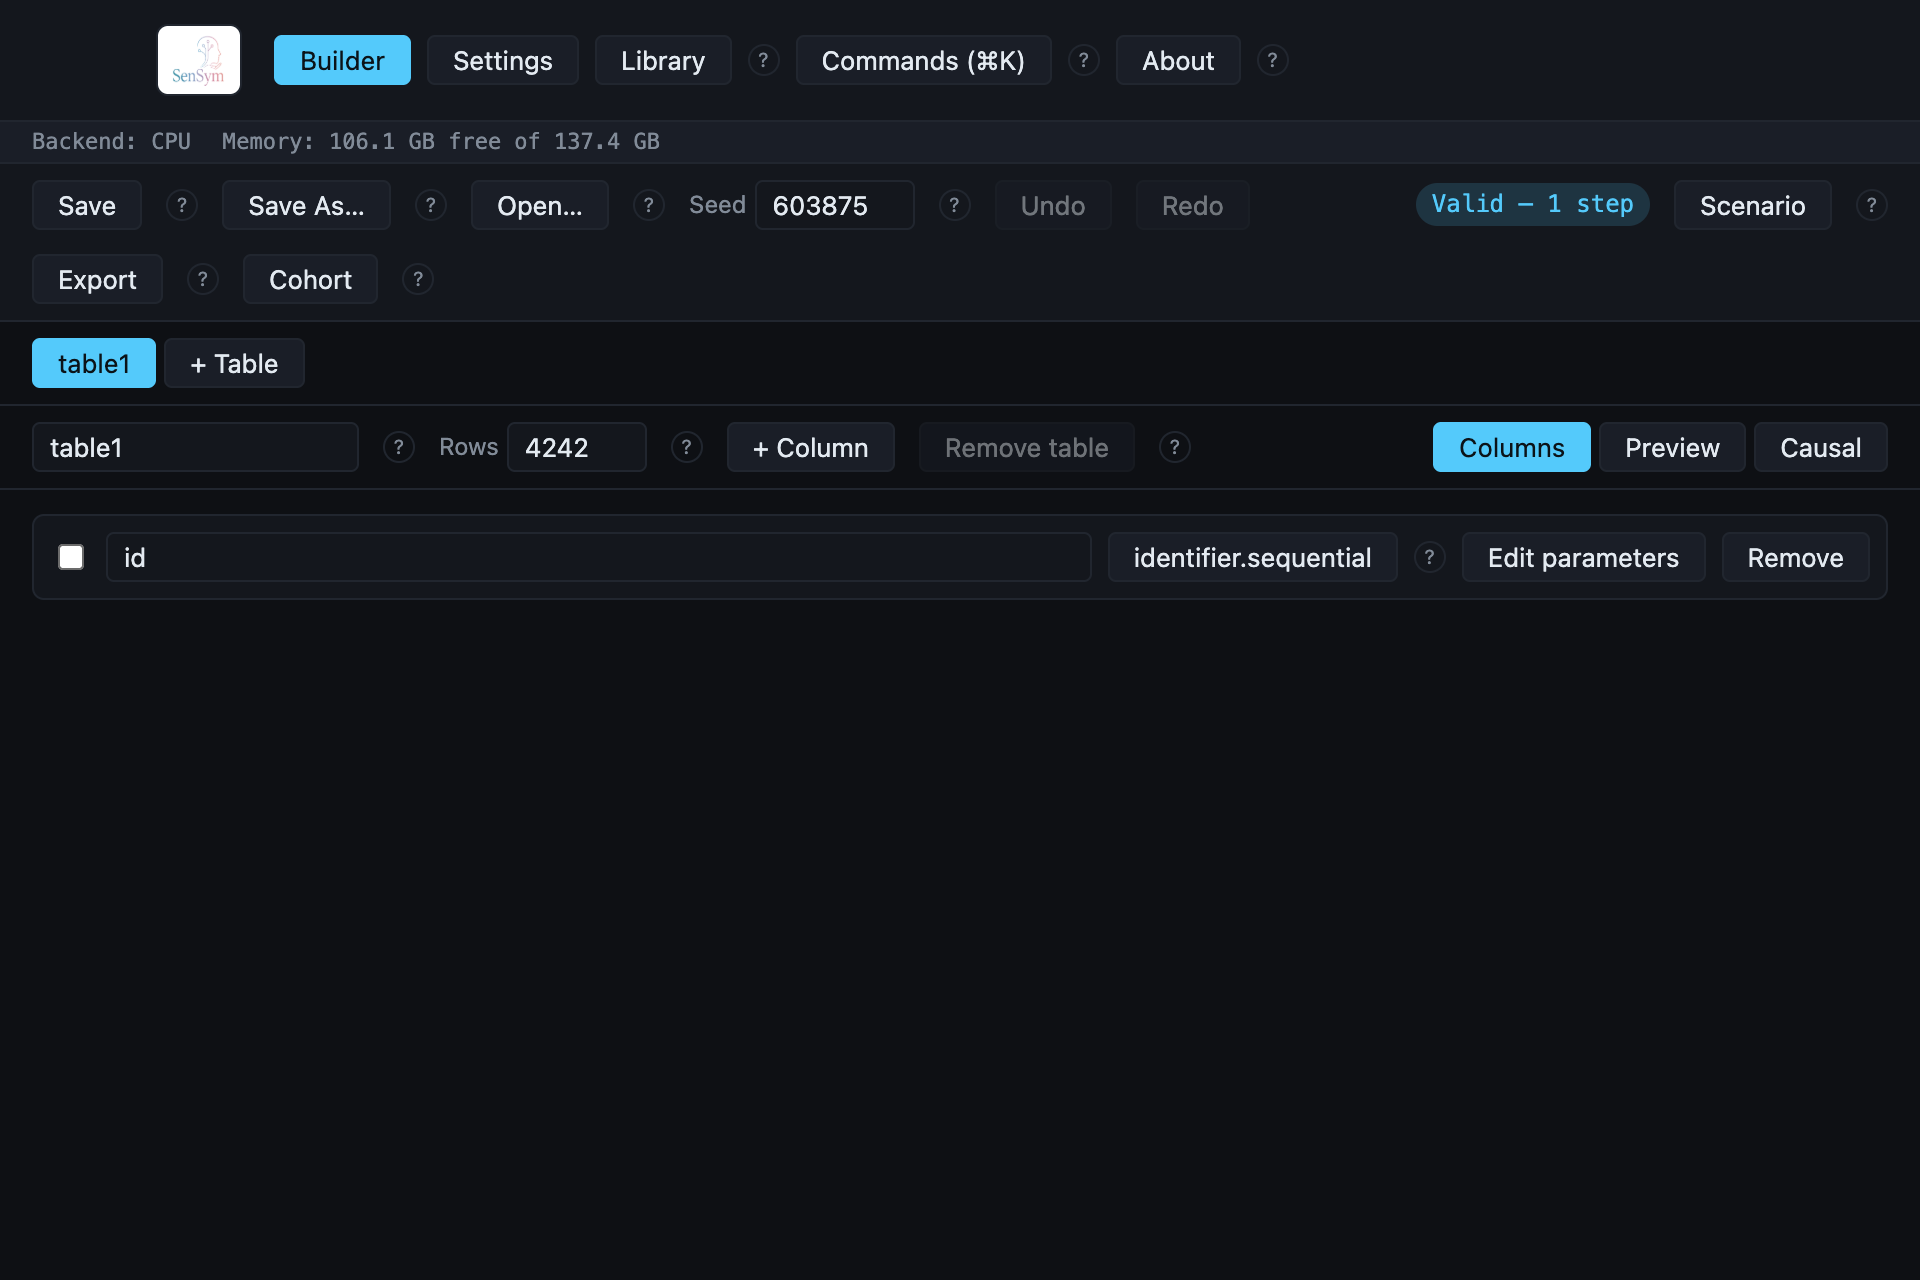
The Builder opens with one table (table1, 100 rows) and one column already typed
(id: identifier.sequential) — never a blank screen.
2. Describe what you want#
Click Scenario and type a plain-language description of the columns you want. This
recipe used "student id, grade level, gpa, enrollment date":
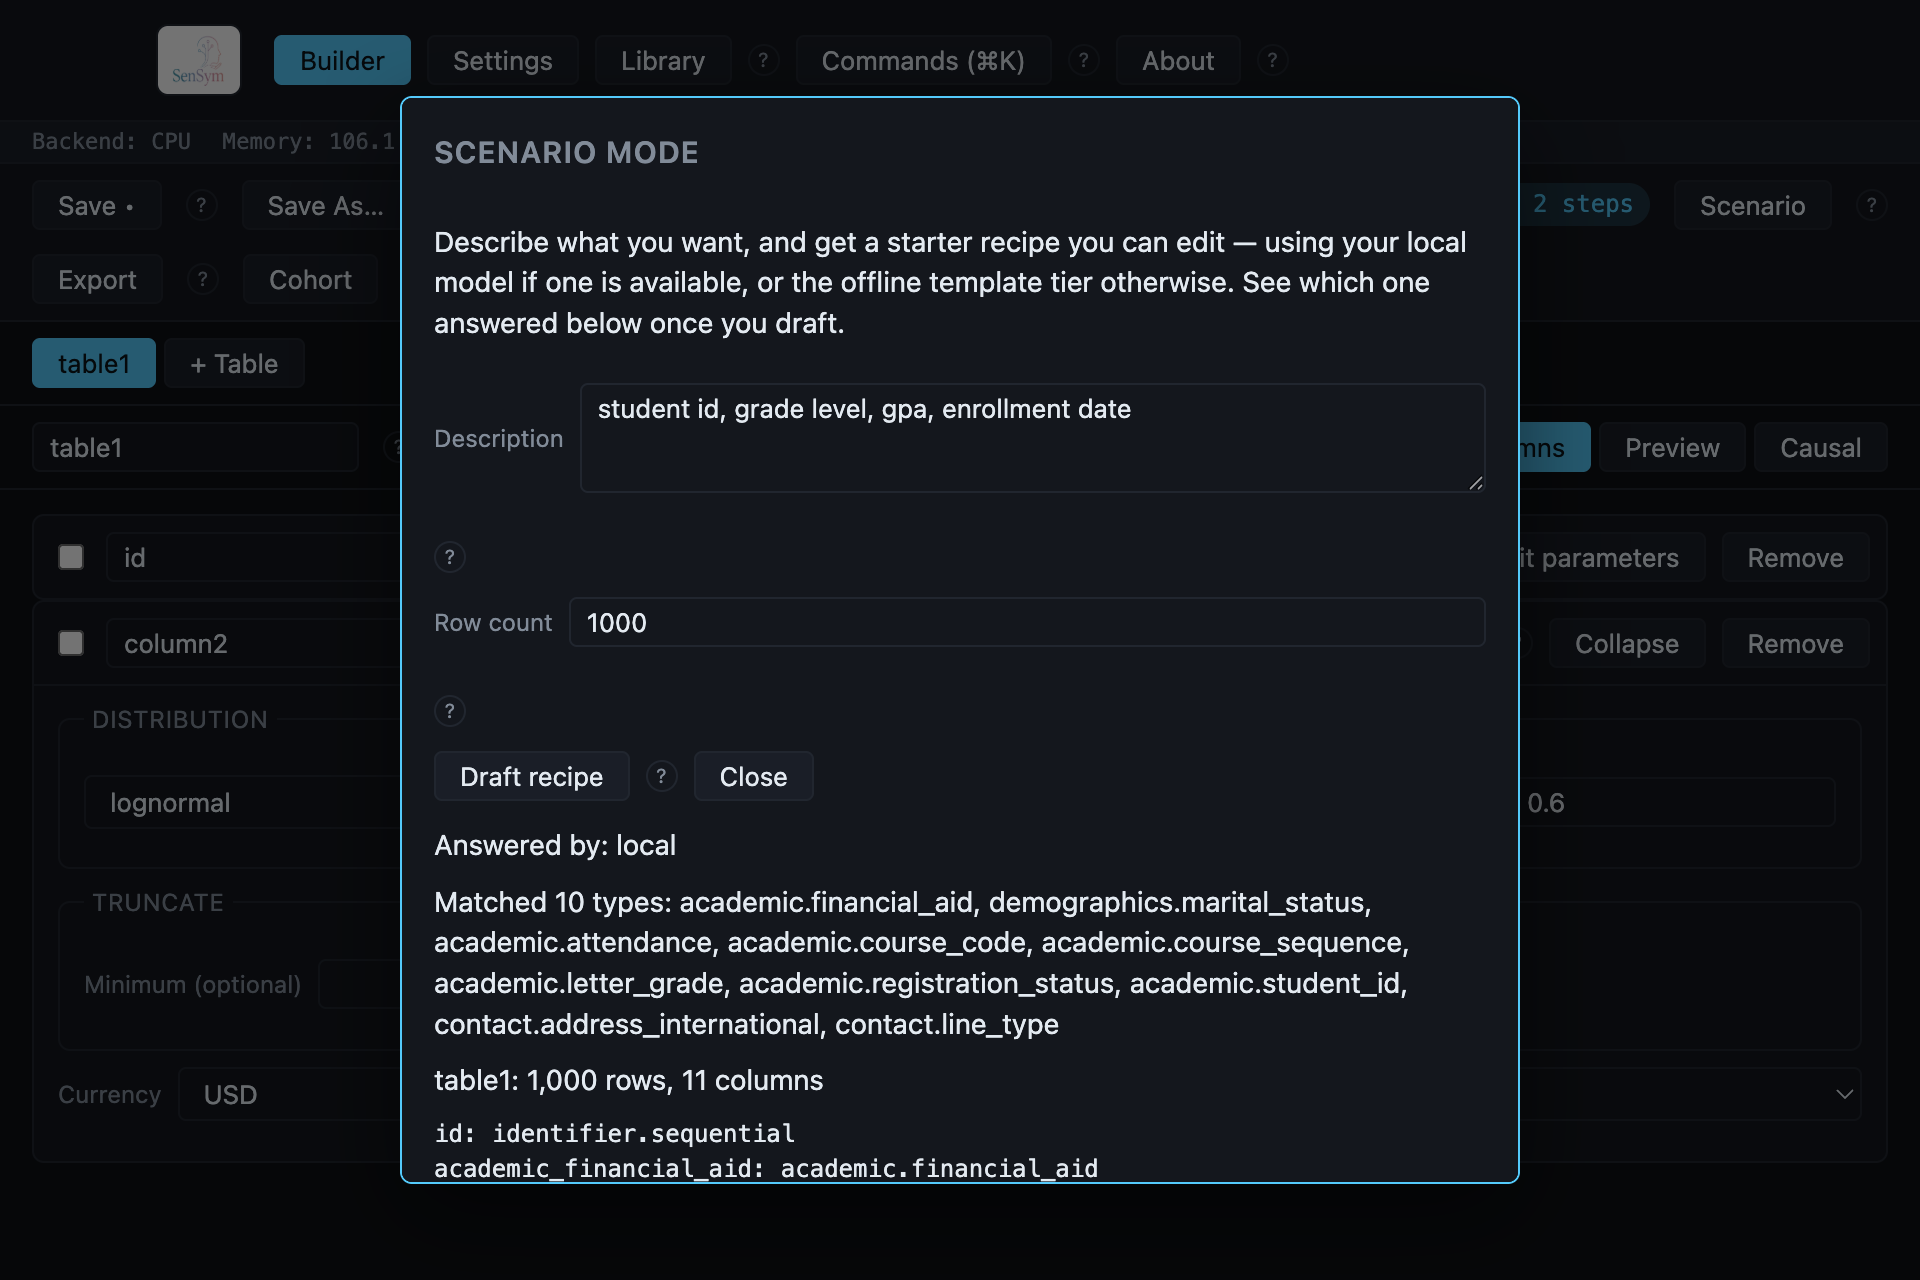
Answered by: local above the match list names which of Scenario Mode's three tiers actually
answered this draft (see Scenario Mode for what the other two look like).
Click Apply and confirm to replace the working recipe with the draft.
3. Export#
Click Export, confirm the destination folder (it defaults to the Settings-configured project library), pick a format, and click Export:
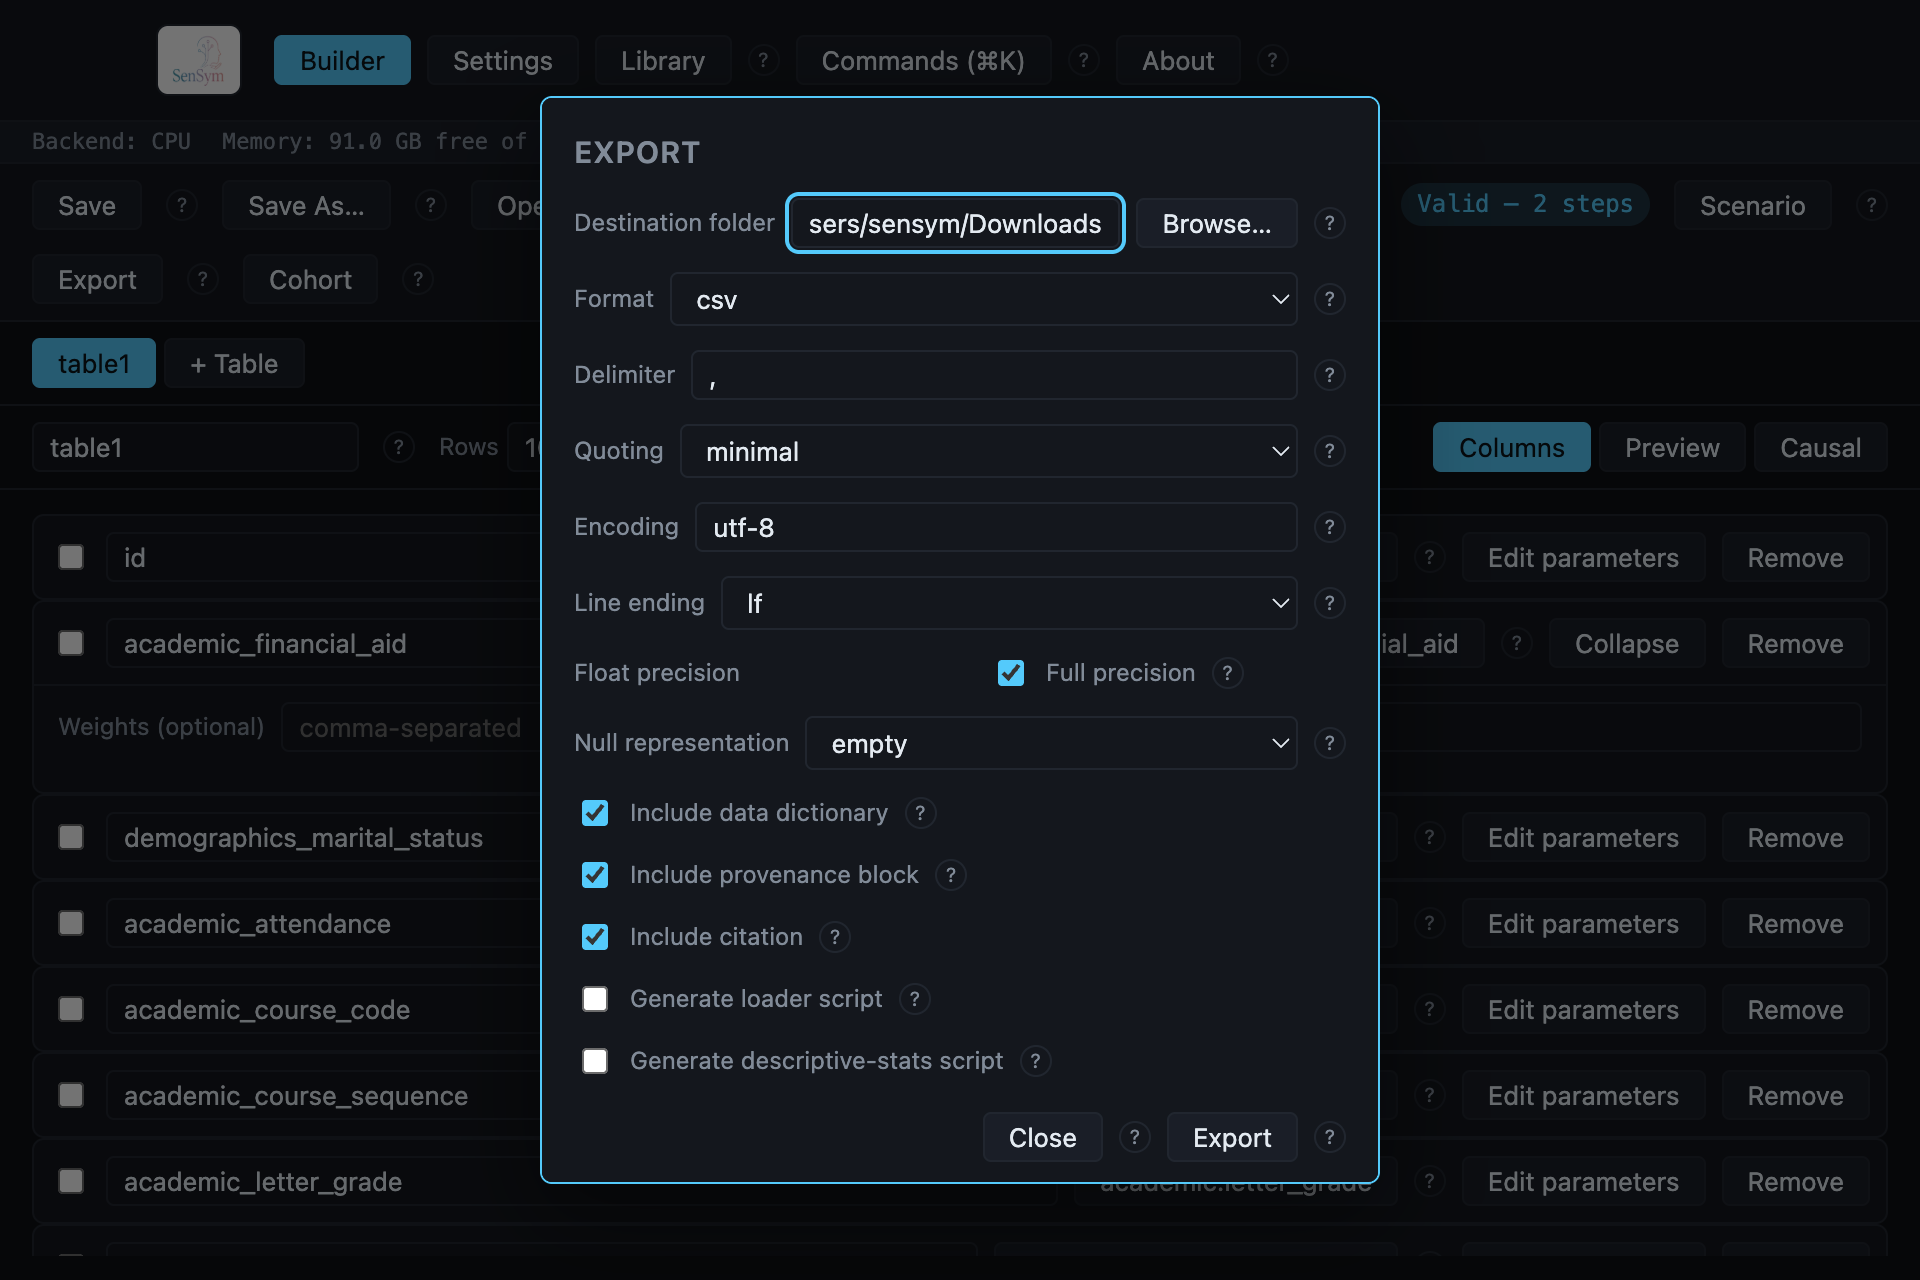
That is a generated file on disk — CSV by default, or any of the other seven supported formats. Every export also writes a data dictionary and a provenance record beside the data unless you turn them off in this same dialog.
Finding things faster#
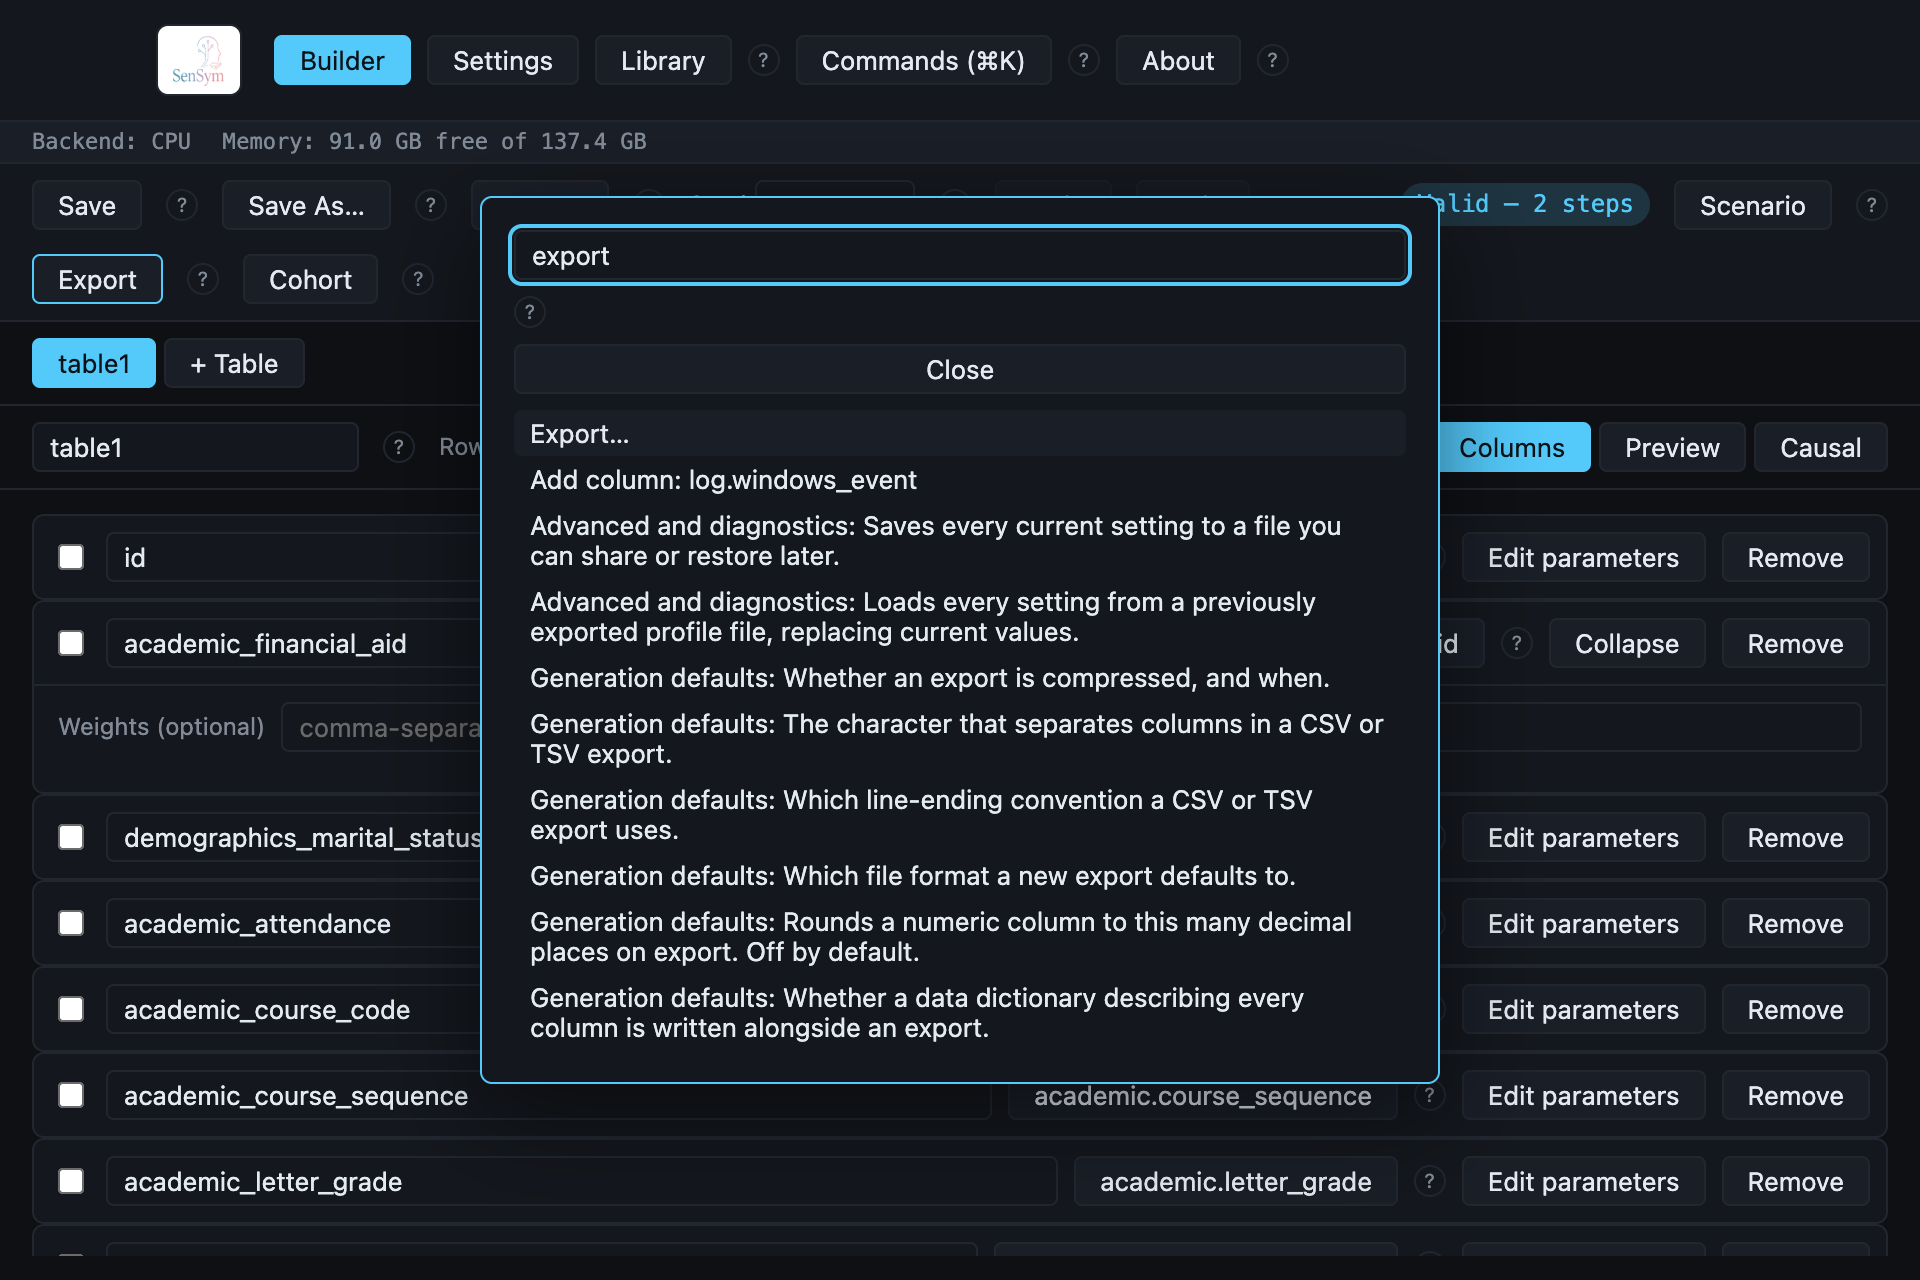
⌘K opens the command palette from anywhere in the app — a single search over top-level commands, every catalog type, and every Settings control:
Where to next#
- Recipe files — save this recipe to reopen later, or hand it to
sensym generatefrom the CLI. - Recipe library — a live view over your saved recipes: open, duplicate, reveal, or delete any of them.
- Scenario Mode — all three tiers, and what each one needs to run.
- Cohort generation — generate one seeded dataset per row of a class roster in a single run.
- The causal graph view — declare a treatment/outcome/confounder structure and read its true, closed-form ATE.
- Speech narration — install the real neural TTS runtime and read a text column aloud into real WAV files.
- Type catalog reference — every registered type, grouped the way Appendix C groups them, with its own real example and parameters.
- CLI reference — the same
sensymcommand line documented start to finish.